
In Dynamics 365, you can use the fetch XML query in the web API to retrieve specific data. With the help of advanced find feature, you can carry out querying easily.
You need to follow below steps to create the fetch XML Query.
Step 1: Open Advanced Find
Firstly you have to login to your account and then click on the Advanced Find button (funnel icon) in the upper right-hand corner.
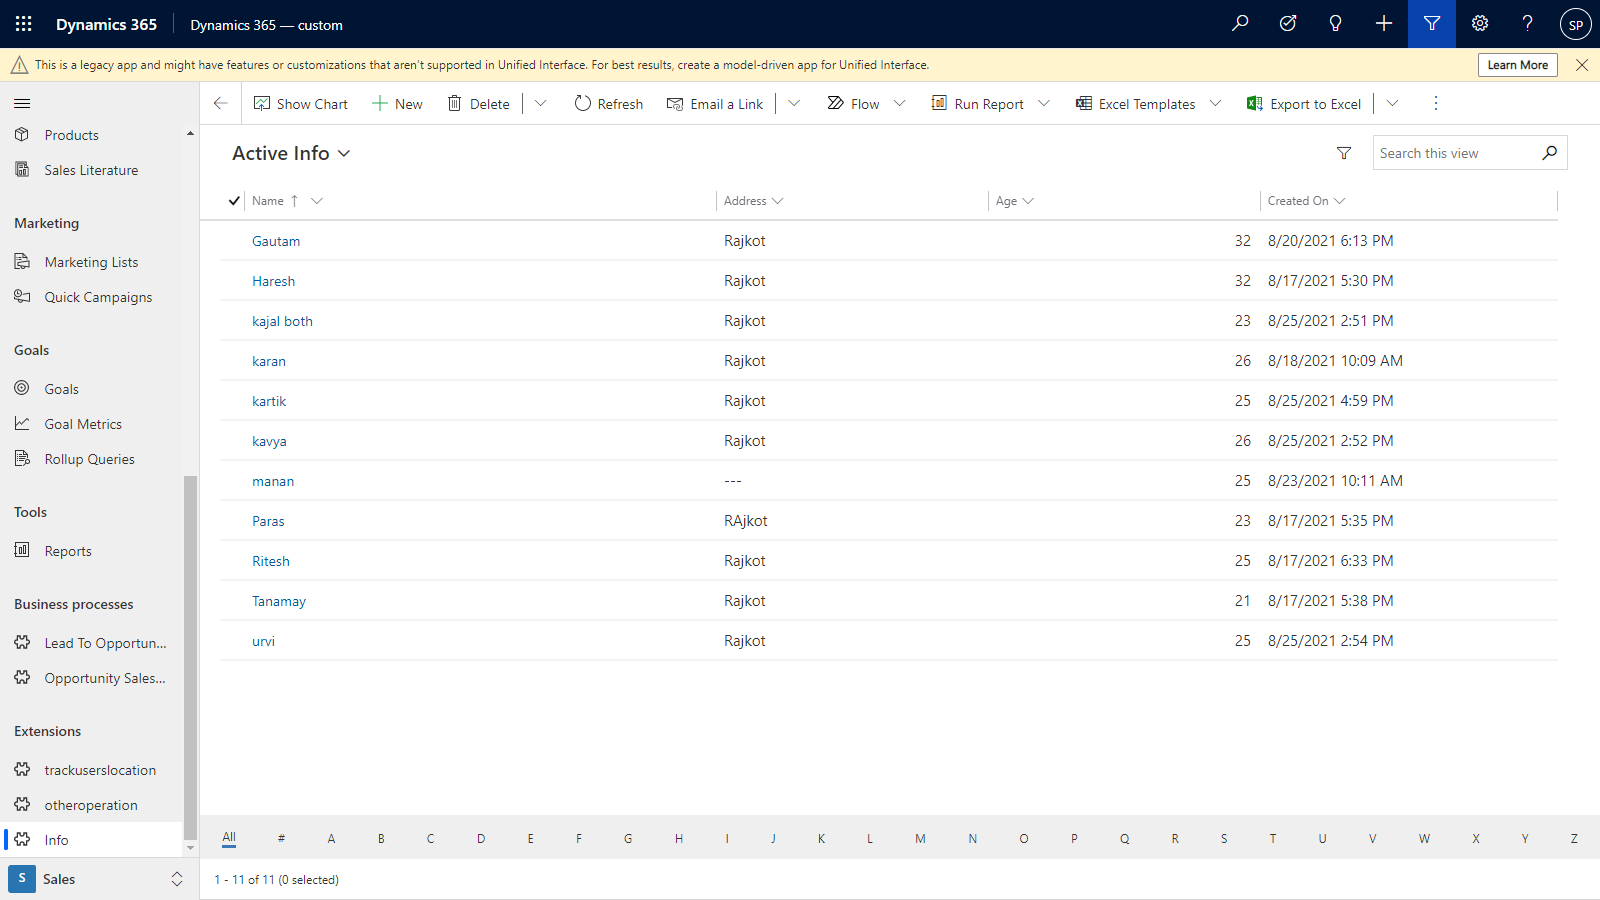
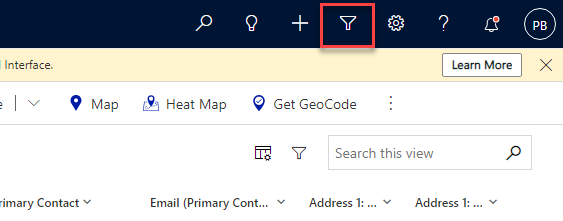
Once you click on the “Advanced Find” button, the below screen will be open.
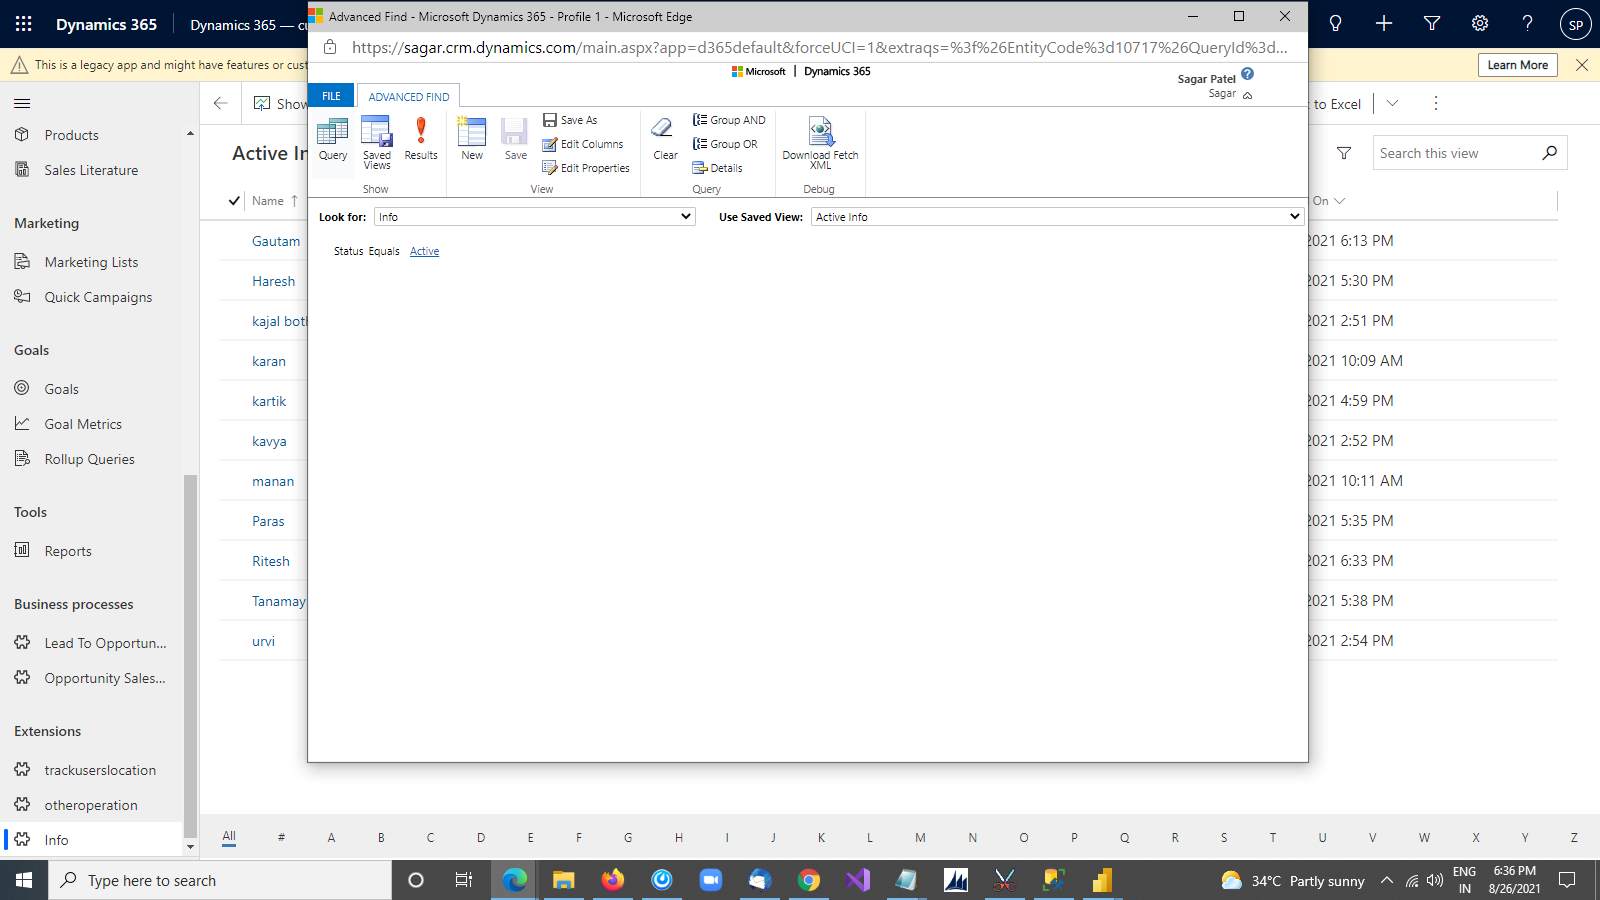
Set the entity and view to fetch XML query.
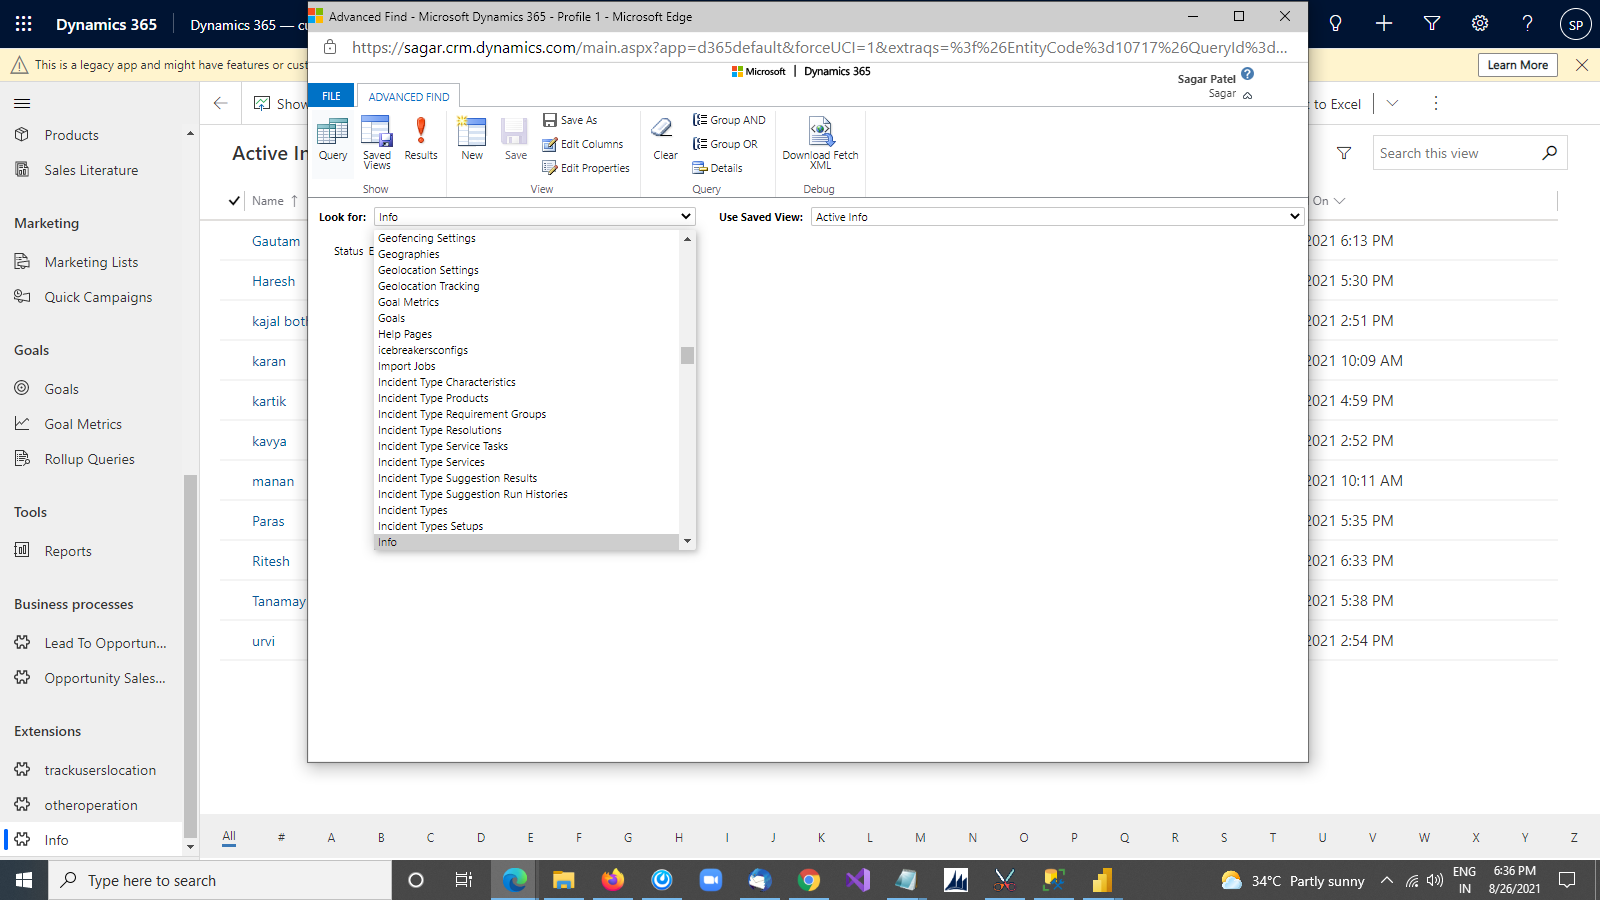
Step 2: Create New Query
Then click on a New button at the top under Advanced Find section to create a query.

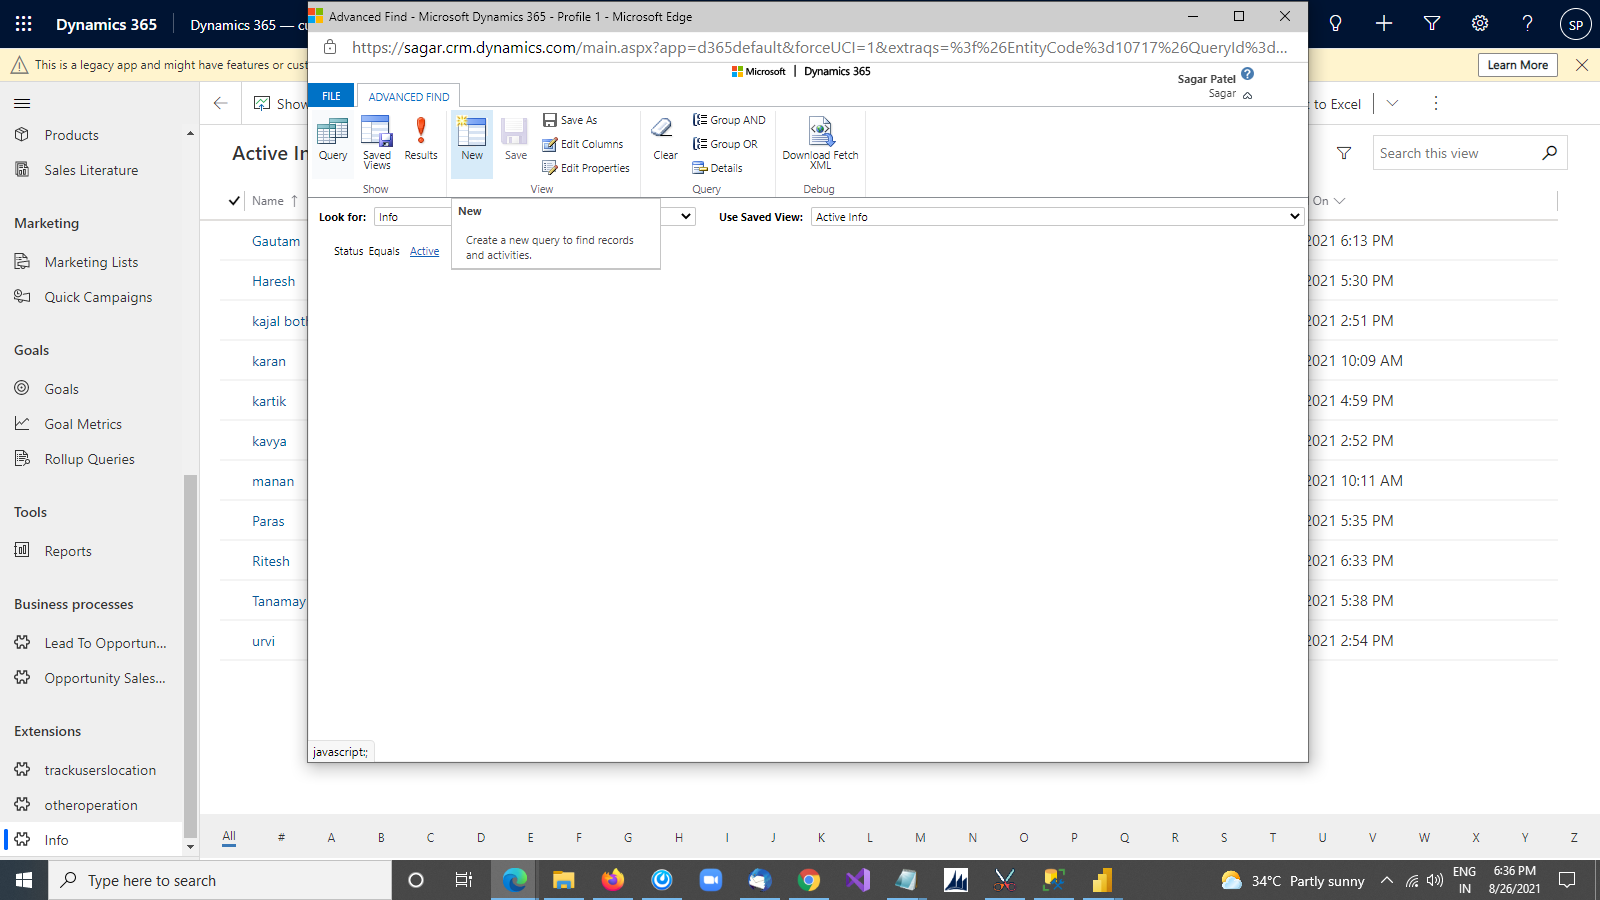
Step 3: Enter the Additional Information to the Different Queries
Then select the field on which you want to perform a query.
Here, we want to find a name that has an age above 25.
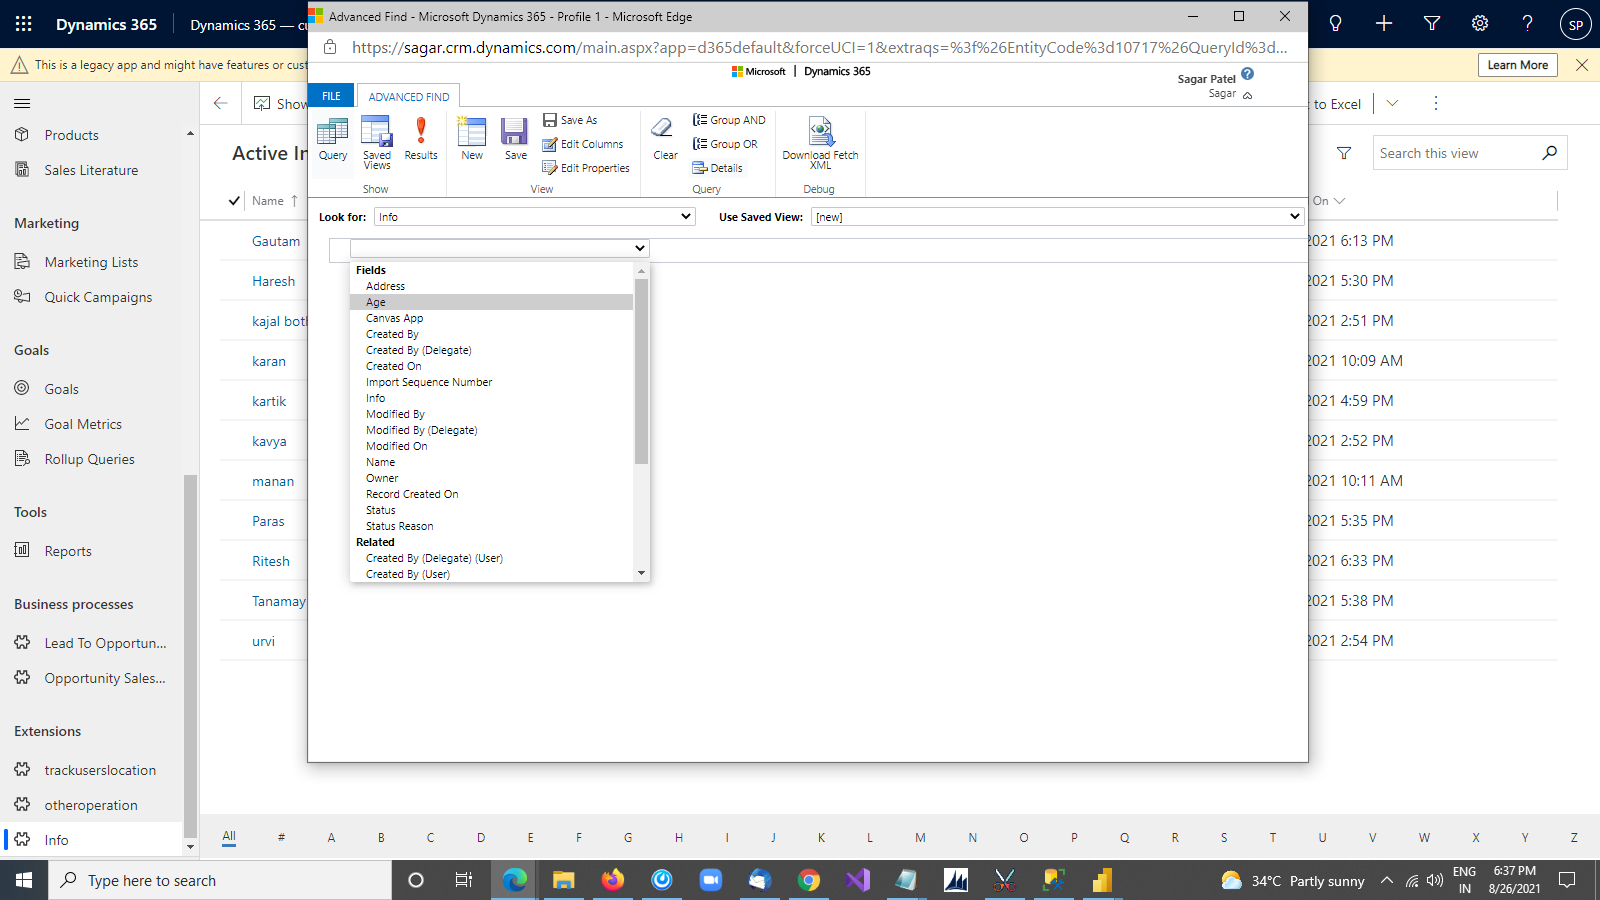
Then select the Operator for which you want to perform the query, in this case it is Age.
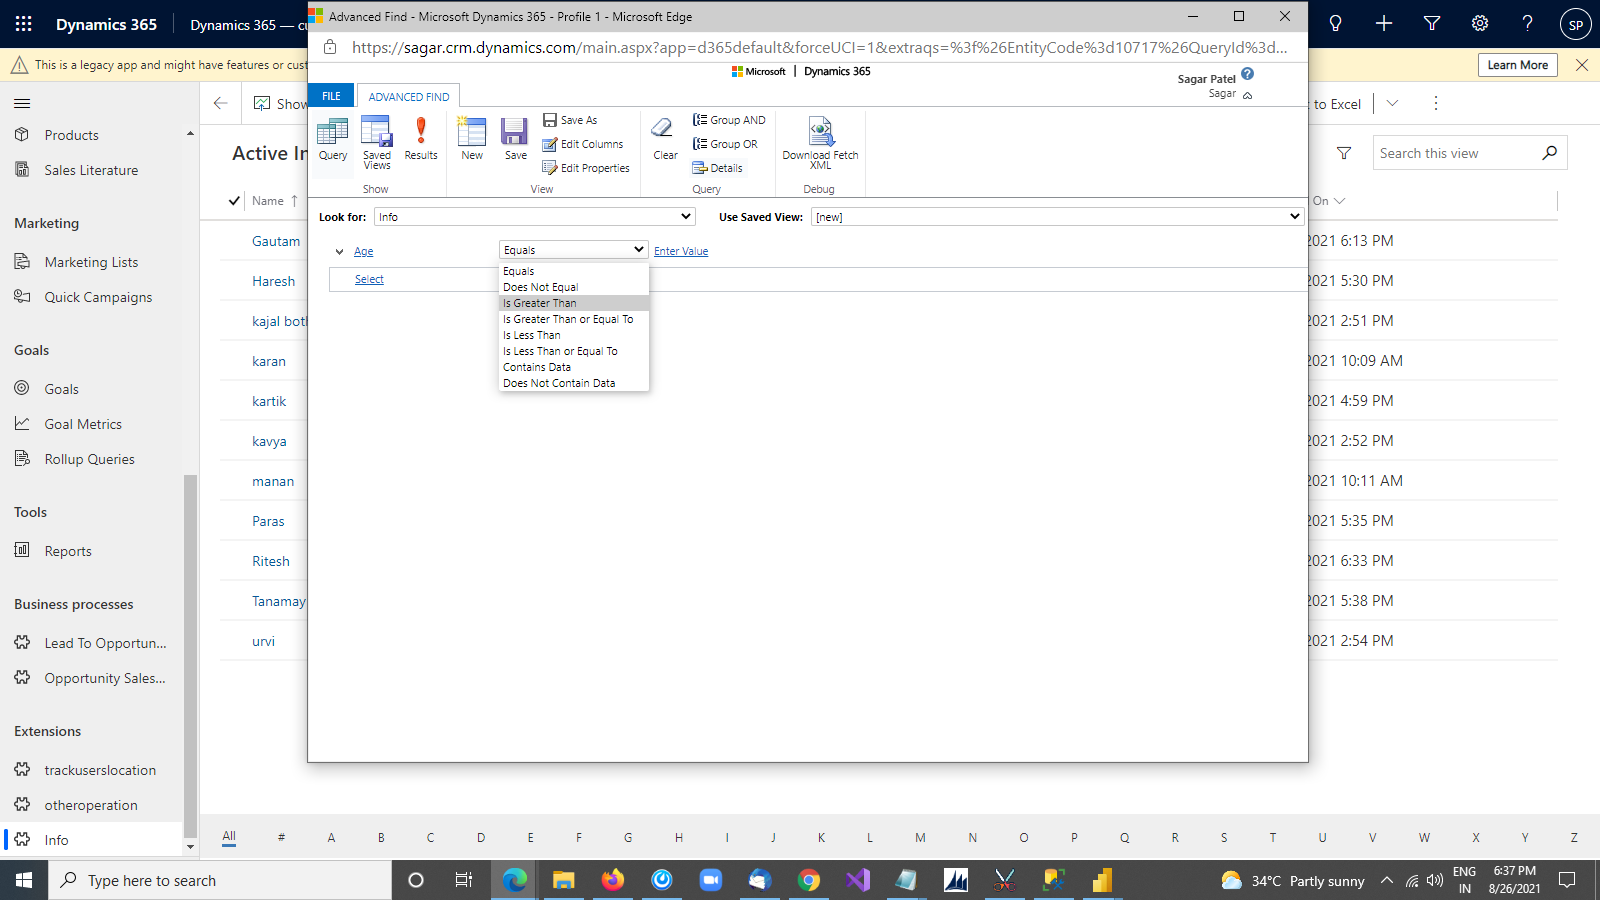
Then enter the value for comparison i.e. Equals, Does Not Equal, Contains Data, Does Not Contain Data, Under, and Not Under.
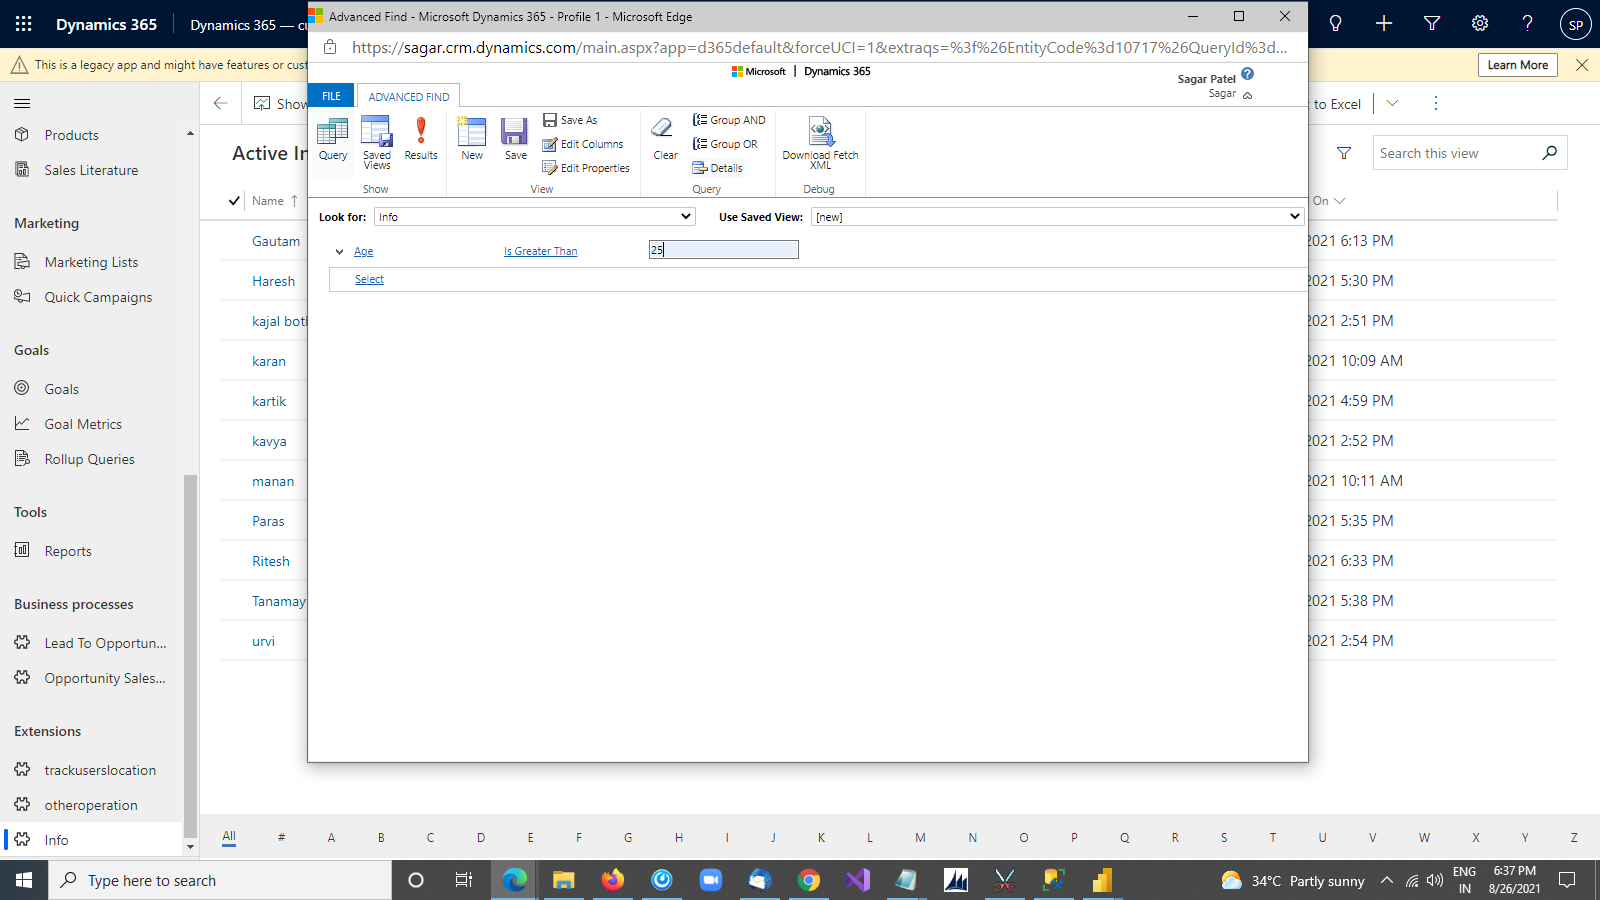
Step 4: Generate Results
Then click on the Result button to check if the query is working properly or not.
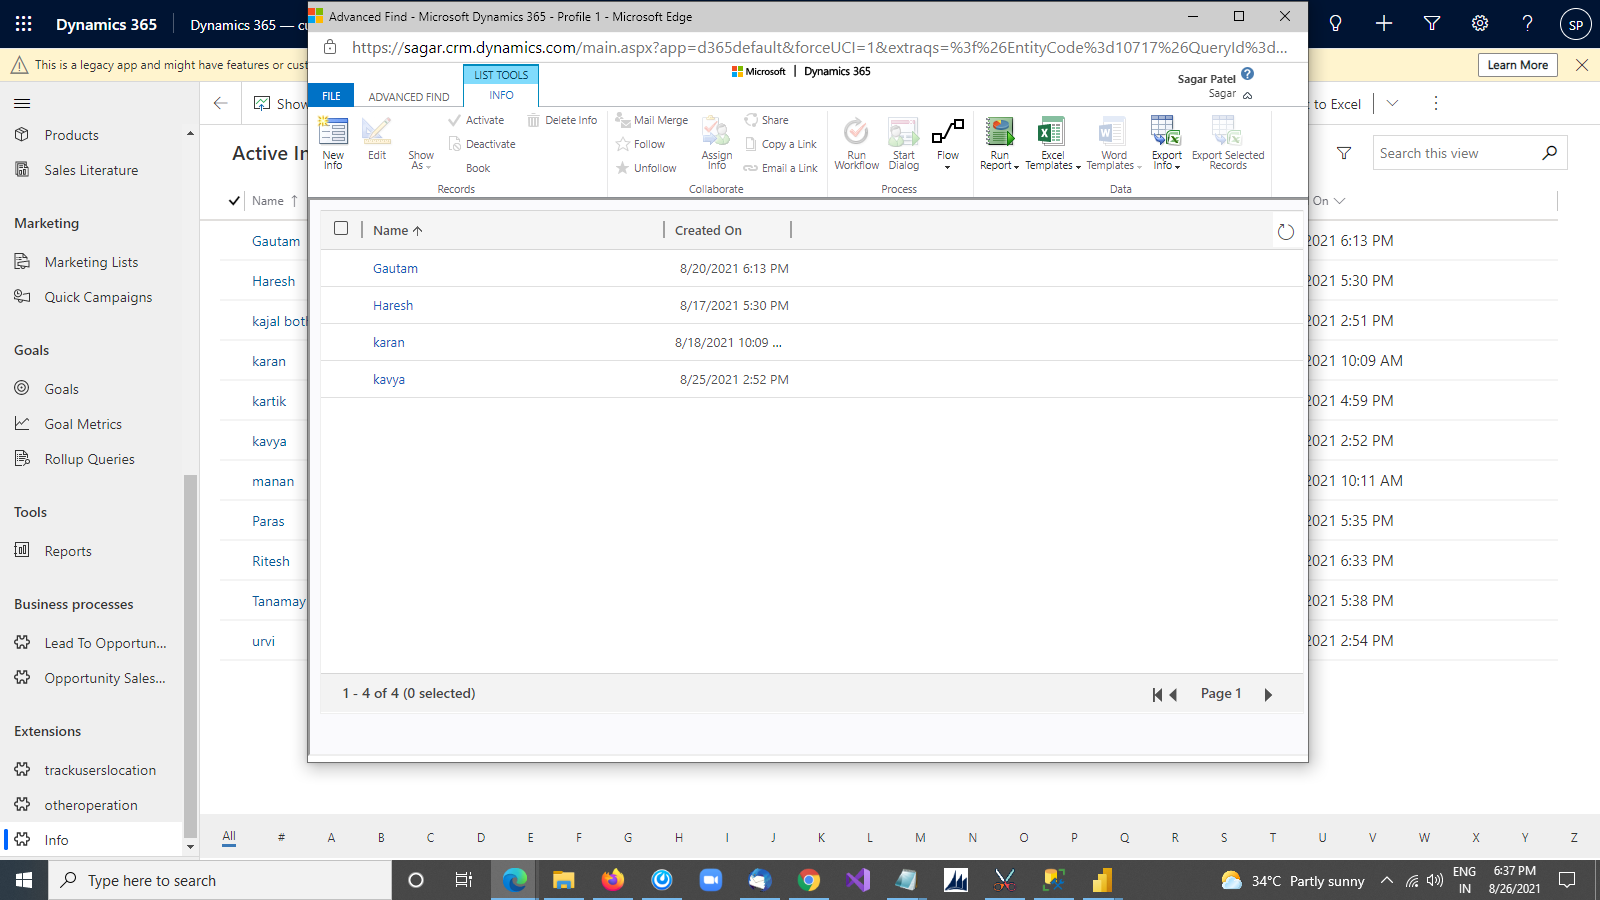

You can see the output like this.

Step 5: Download the XML Query
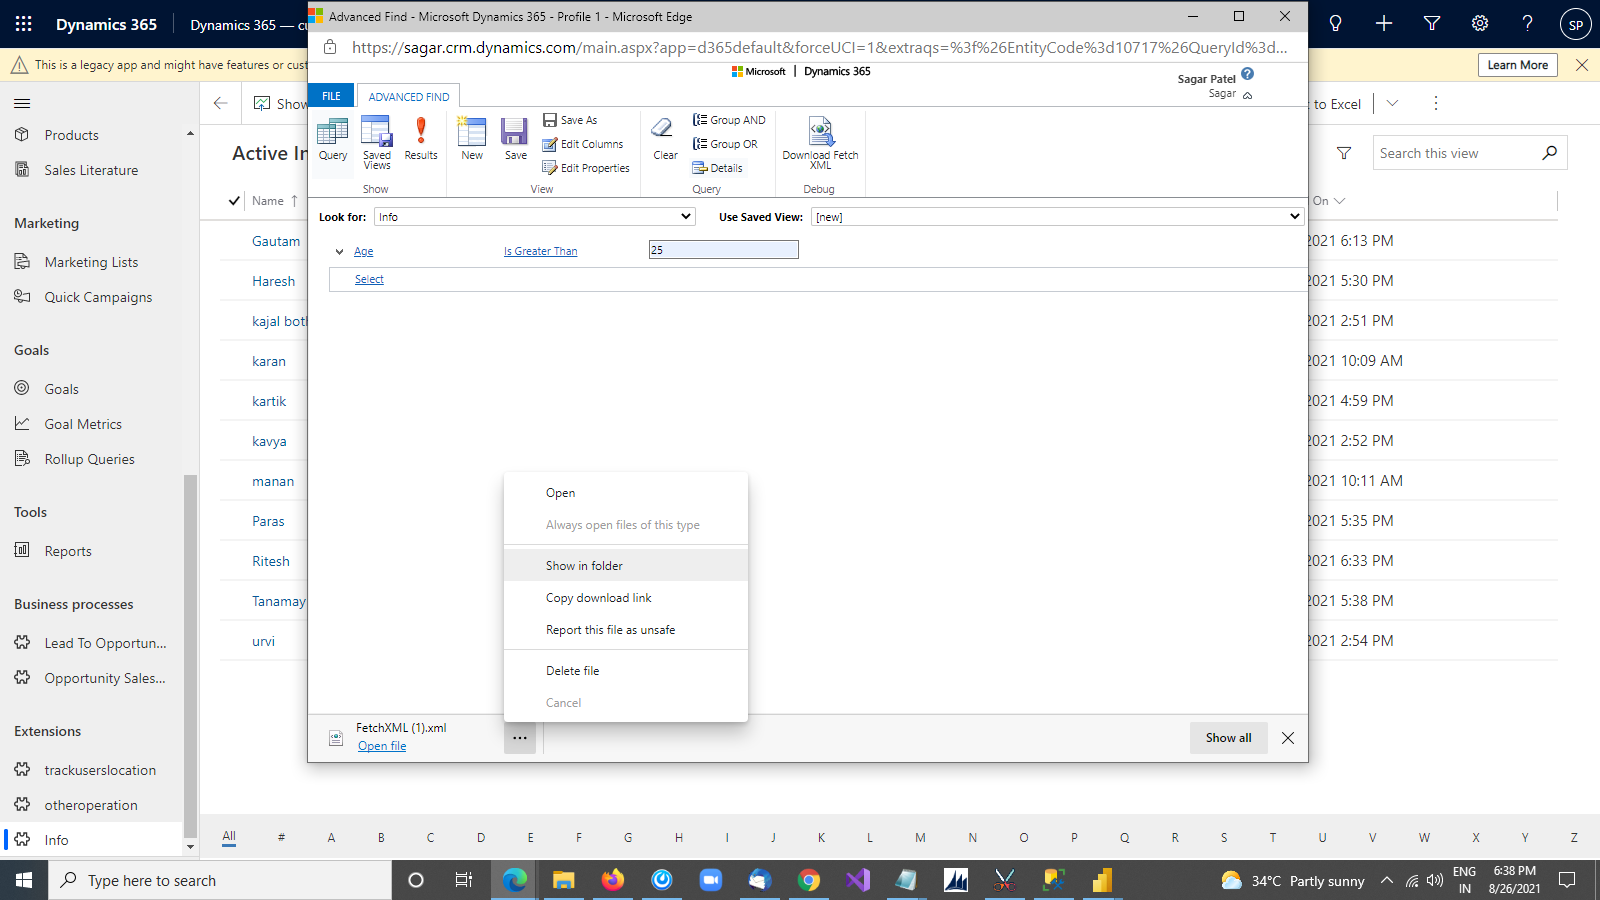
If the query is working properly then click on the Download Fetch XML button to download the XML query.
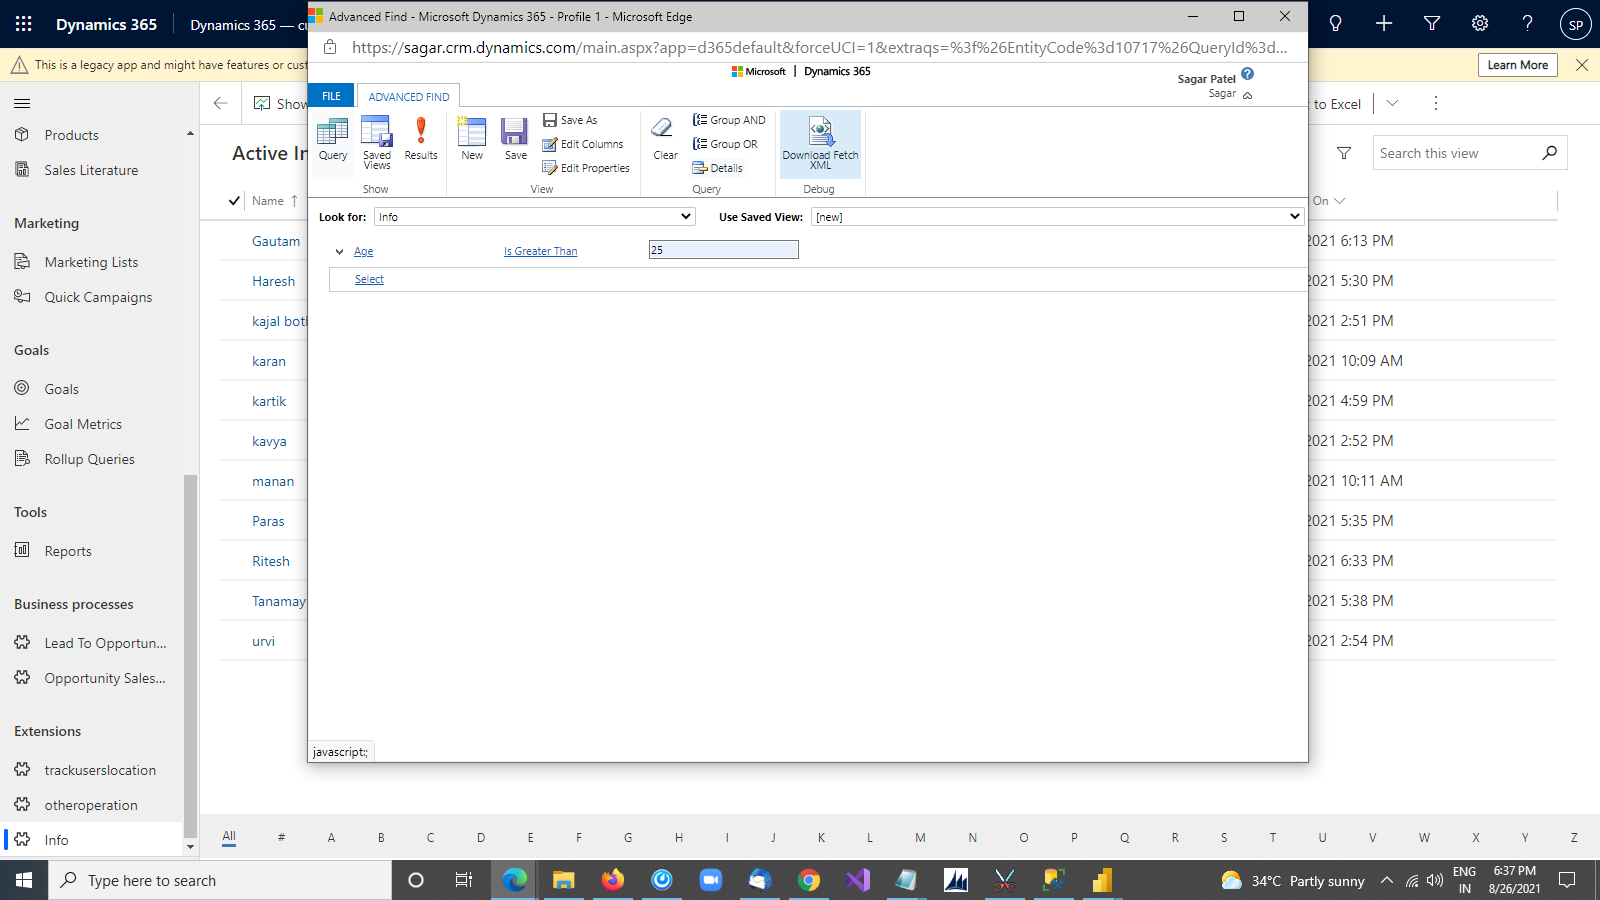

We can find the downloaded file from the download folder then we can open and check it.
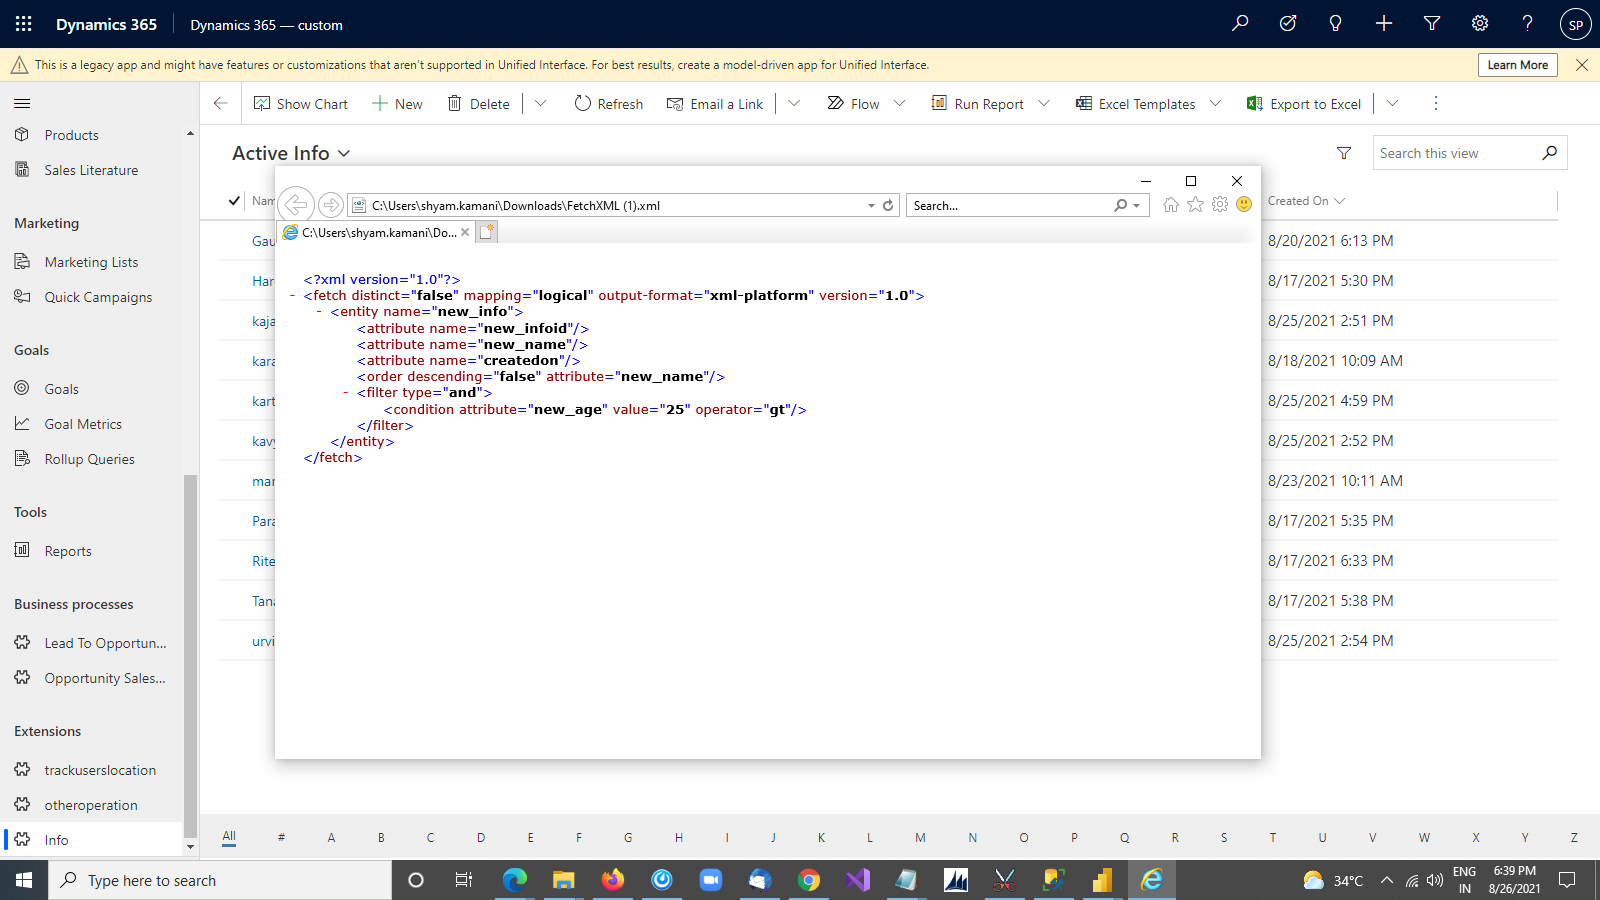
You can use this query in the web API to retrieve specific data.
All product and company names are trademarks™, registered® or copyright© trademarks of their respective holders. Use of them does not imply any affiliation with or endorsement by them.
The Article is originally published on:
https://www.appjetty.com/blog/how-to-fetch-xml-quary-from-dynamics365/