
Before visiting multiple clients, you need to plan a visiting route. Mappy Field provides functionality to plan your visiting route according to Start Location, Time, Start Date, End Date, Visiting Duration, and more.
The visit planning feature is helpful when you are not able to decide what is the best route according to time. The visit planning feature saves you time and gives you the best route. Here is how you can decide the route in Dynamics 365 Map.
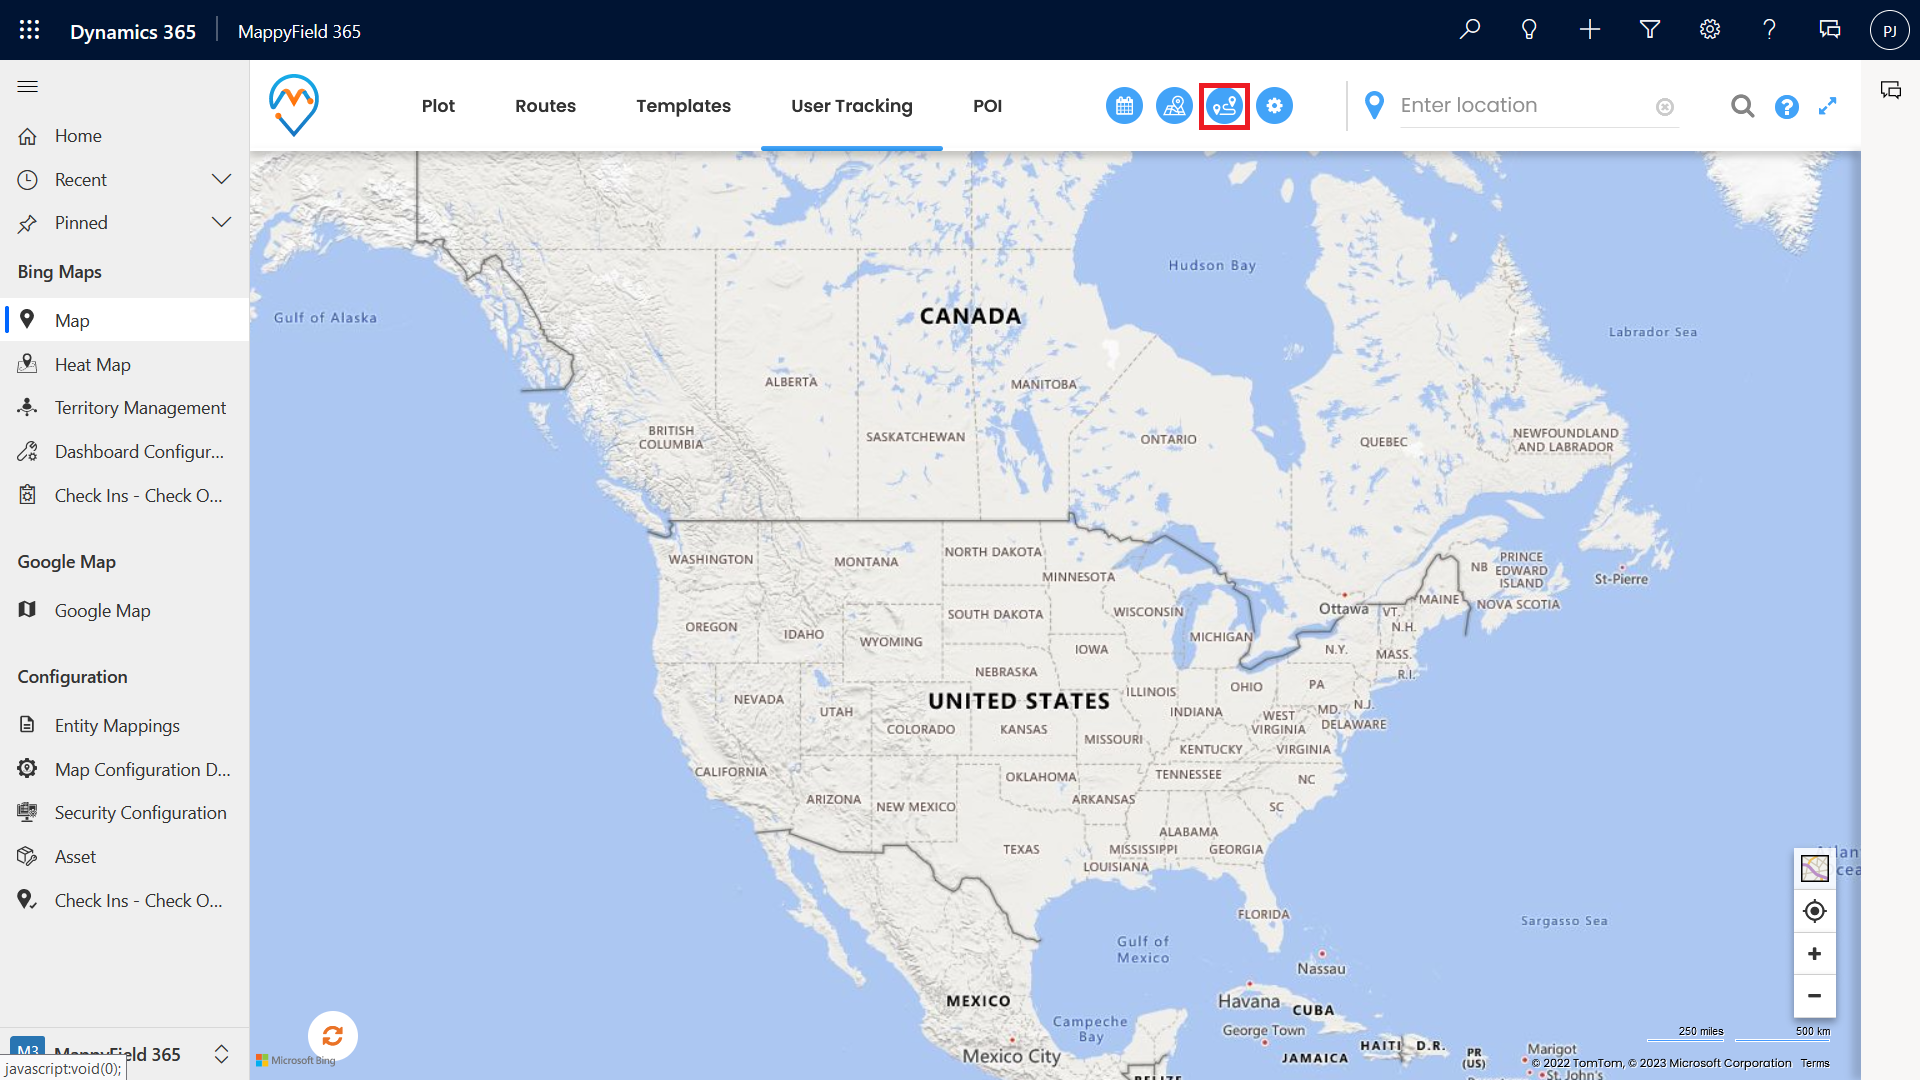
Step 1: In MappyField’s navigation bar, click on the Visit Planner Button.

After clicking on the Visit Planner button, the side panel will open up.
Step 2: Fill in the Details of the Side Panel.
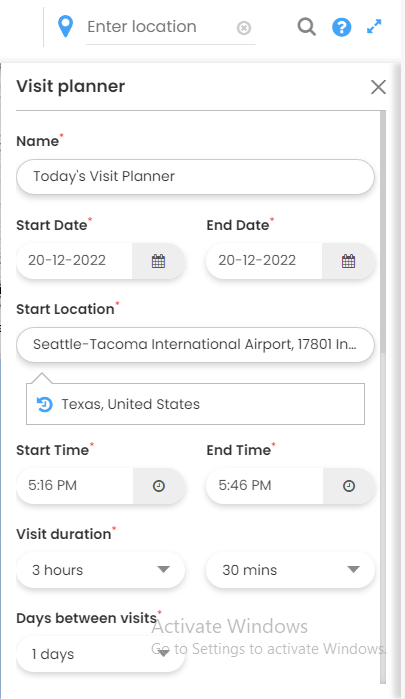
Once you fill in all the details, Mappyfield will show a Visit Planner.
Step 3: Based on the start location, you see a list of all customers.
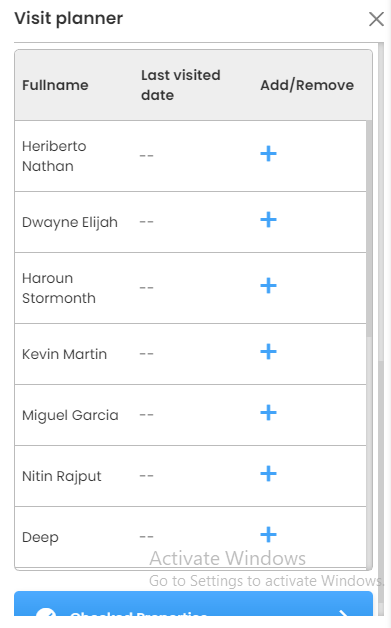
Step 4: Next step is select the customer whom you want to visit.
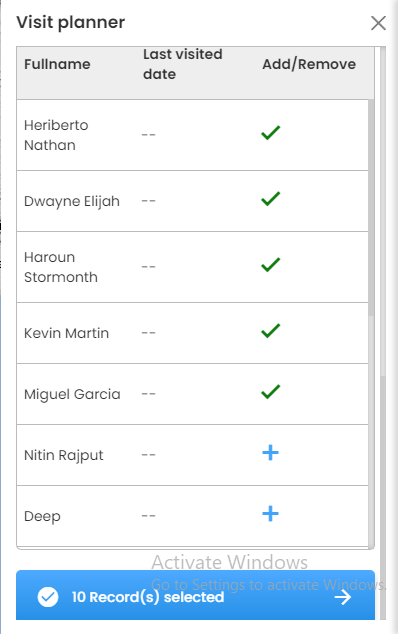
Once you fill in all the details, click on the arrow.
Step 5: After processing the data, you can see the result.
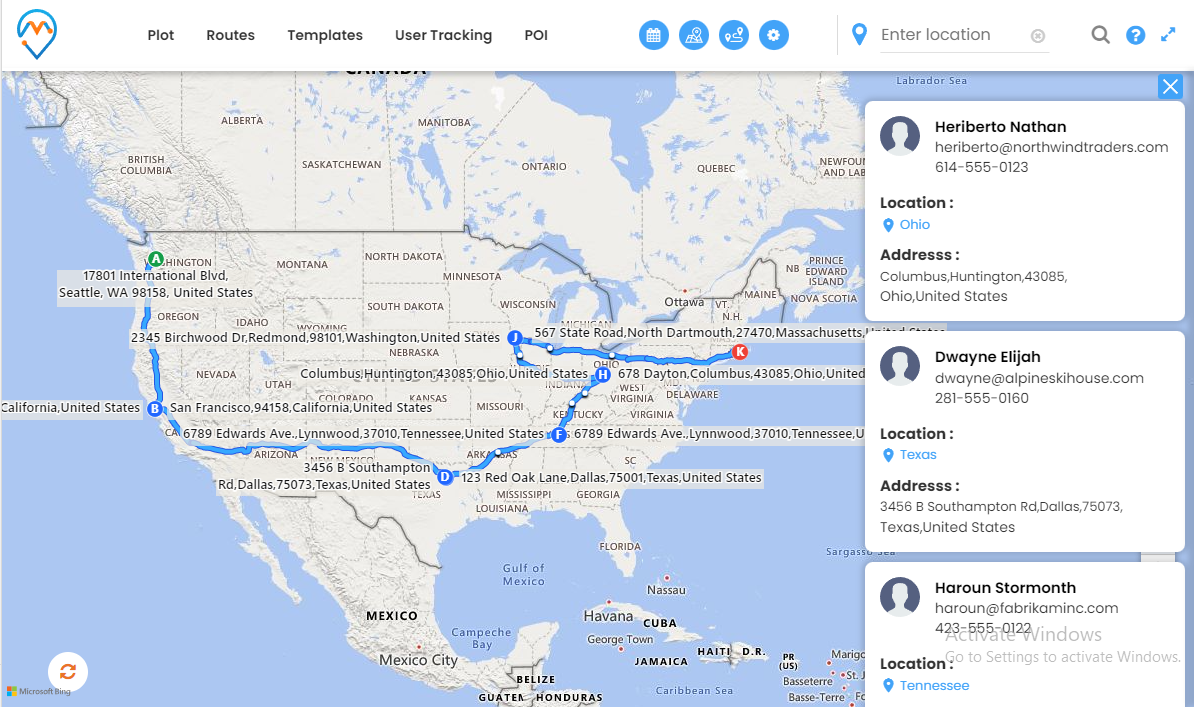
MappyField processes data and gives results based on Start location, Time, Start Date, End Date, and Visiting Duration.
In the above screenshot, you can see the route connecting all locations.
After plotting the route, MappyField saves the Visiting planner route as an Event.
Step 6: To see the saved visiting planner route Click on Today’s Schedule Button.
In Today’s Schedule section, you can see the schedule in the upcoming event tab.
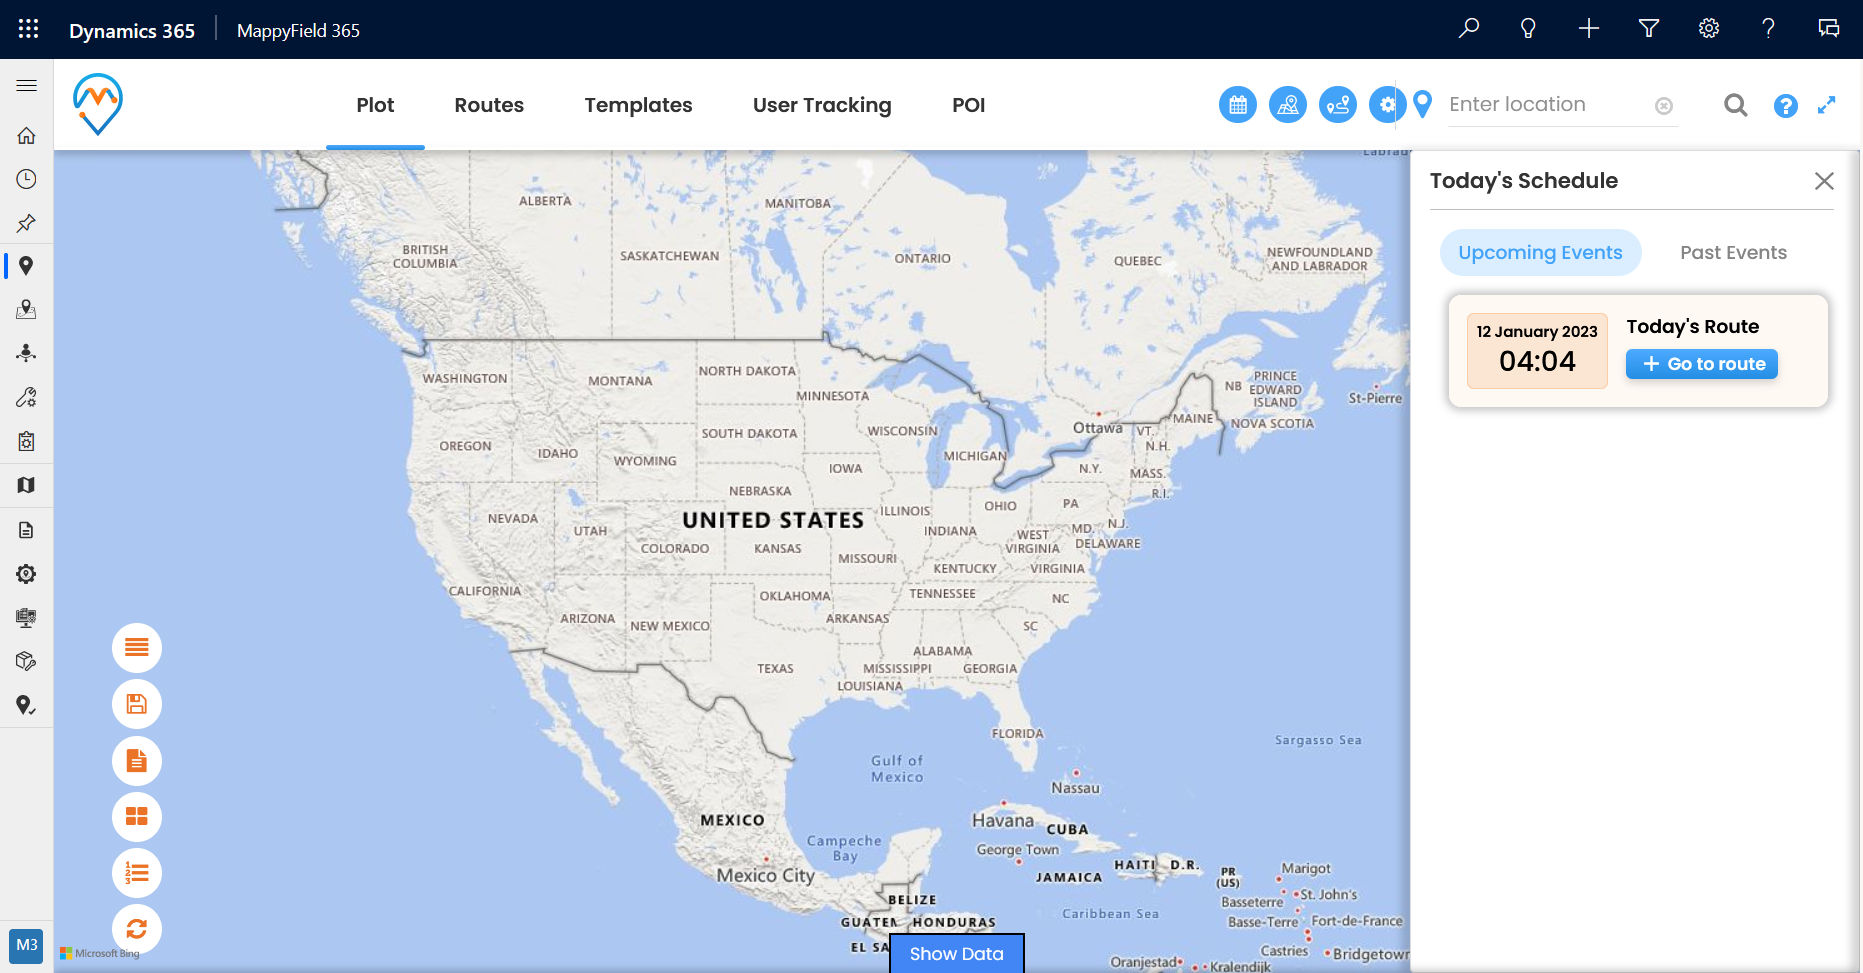
You can also see the route by clicking on the Go to Route button.
All product and company names are trademarks™, registered® or copyright© trademarks of their respective holders. Use of them does not imply any affiliation with or endorsement by them.
The Article is originally published on:
https://www.appjetty.com/blog/visit-planner-dynamics365-map/